# SSL 인증서 오류 (기존 시놀로지 인증서 활용 방법)
SSL 관련 오류를 해결하기 위해서는 SSL 인증서를 설치해 주셔야 합니다.
본 해결 방법은 시놀로지를 사용할 경우 간단히 시놀로지의 인증서를 빼내서 nextcloud에 적용하는 방법입니다.
1\. "시놀로지 제어판 > 보안 > 인증서" 항목에서 기존 보유한 인증서를 선택 후 "인증서 내보내기"를 실행 합니다. (PC로 다운로드)
2\. 압축을 풀고 이 중에서 사용할 인증서는 "cert.pem"와 "privkey.pem" 입니다.
3\. nextcloud에 새로운 인증서 생성
1) "nextcloud/config" 밑에 "cert" 디렉토리를 생성 합니다.
2) cert 디렉토리 밑에 "cert1.crt" 파일을 생성하고 앞서 다운로드 받은 "cert.pem" 파일의 내용을 메모장을 열어 복사하고
붙여 줍니다.
3) cert 디렉토리 밑에 "cert1.key" 파일을 생성하고 앞서 다운로드 받은 "privkey.pem" 파일의 내용을 메모장을 열어 복사하고
붙여 줍니다.
[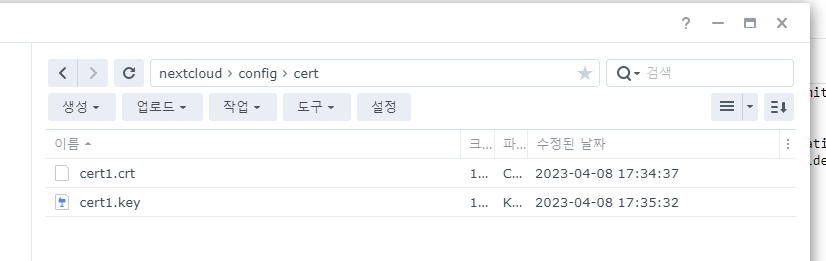](https://wiki.dhcloud.me/uploads/images/gallery/2023-06/cert.png)
4\. nextcloud "ngnix > ssl.conf"에 신규 생성한 인증서 정보를 넣어 줍니다.
1) 위치는 "config > nginx > ssl.conf " 입니다. (nano 또는 시놀의 텍스트 편집기로 수정을 하시면 됩니다.)
2) 아래 두 문장을 주석 처리 합니다.
#ssl\_certificate /config/keys/cert.crt;
#ssl\_certificate\_key /config/keys/cert.key;
3) 앞서 만든 root에 위치한 신규 인증서의 위치를 넣어 줍니다.
ssl\_certificate /config/cert/cert1.crt;
ssl\_certificate\_key /config/cert/cert1.key;
5\. Docker Container를 재시작 합니다.